
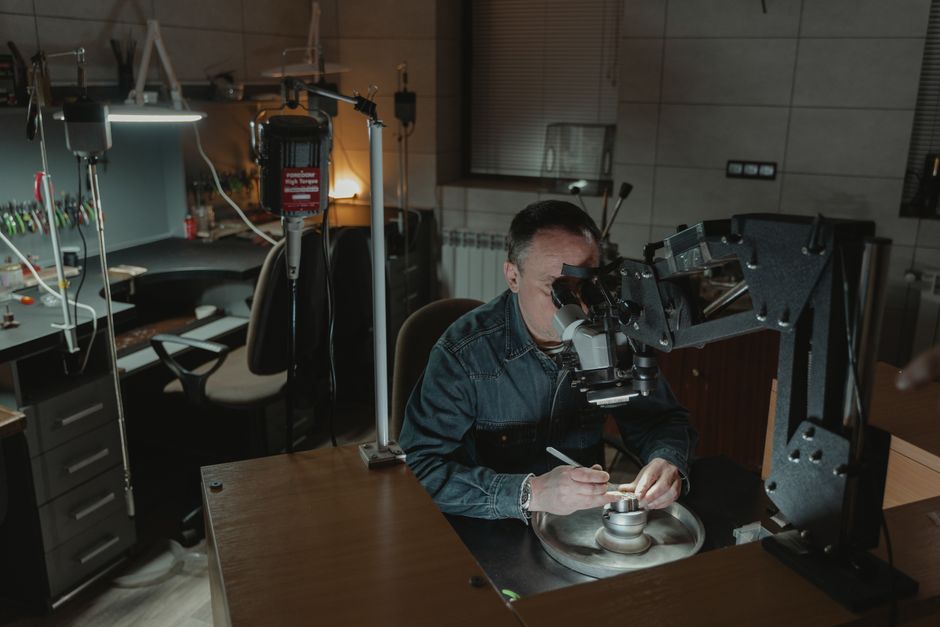
Turning a Concept Into a Tangible Piece of Jewelry
Every exceptional piece of jewelry starts the same way — as an idea. Maybe it's a sketch on a napkin, a reference image saved to your phone, or a detailed technical brief. But the journey from that initial spark to holding a physical sample in your hands involves several critical steps that can make or break your final product. Understanding the jewelry prototyping process helps you collaborate more effectively with your manufacturer, save money, and bring your designs to market faster.
Step 1: Concept Development and Technical Brief
Before any software is opened or metal is melted, the most important work happens on paper — or in a detailed brief. A strong concept brief includes your target dimensions, metal type, stone specifications, surface finishes, and any functional requirements like ring sizing or clasp mechanisms.
The more detail you provide at this stage, the fewer costly revisions you'll encounter later. If you're working with a manufacturing partner like JewelCAD Design Ltd, sharing mood boards, reference images, and even rough sketches gives our design team the context needed to translate your vision accurately into a digital model.
Step 2: CAD Modeling — Building Your Jewelry in 3D
Once the brief is approved, our designers use professional jewelry CAD software to build a precise 3D model of your piece. CAD (Computer-Aided Design) modeling is arguably the most important phase of jewelry prototyping because every measurement, curve, and stone setting is defined here.
At this stage, you'll receive rendered images of the model — realistic visualizations that show how the finished piece will look from every angle. This is your opportunity to request adjustments before any physical material is used. Common refinements at this stage include:
- Adjusting proportions or overall weight
- Modifying prong styles or bezel depths for stone settings
- Refining surface textures or engraving details
- Ensuring structural integrity for long-term wearability
"Getting the CAD model right is the single best investment you can make in your prototyping process. Every change made digitally saves hours of labor and significant material cost downstream."
Step 3: 3D Printing the Resin Model
With the CAD file approved, we move into 3D printing using high-resolution castable resin. This produces a physical model of your design at true scale, allowing you to assess the piece in a way that even the most detailed renders cannot replicate. You can feel the weight, check proportions against the body, and verify that stone sizes are visually balanced.
This resin prototype is also used for stone-setting trials and for client approvals before committing to precious metal. For independent jewelry brands managing tight development budgets, this step is invaluable — it's far less expensive to refine a resin model than to recast in gold or silver.
Step 4: Casting Your First Metal Sample
Once the resin model is approved, it moves into the casting process. Using the lost-wax casting method, the resin model is invested in plaster, burned out in a kiln, and replaced with molten metal under vacuum pressure. The result is your first metal sample — a raw casting that captures every detail from the original CAD file.
After casting, the piece goes through finishing work including filing, sanding, polishing, and stone setting. What you receive is a production-ready sample that reflects exactly what your final product will look like at scale.
Practical Tips for a Smooth Prototyping Experience
- Be specific about metal alloys: 925 silver, 18K yellow gold, and 14K white gold all behave differently in casting and finishing.
- Approve in stages: Don't rush from CAD to casting. Take time at each approval point.
- Plan for at least one revision: Even the most detailed briefs often require minor tweaks after the first sample.
- Consider production scalability: A great prototype should also be manufacturable efficiently at volume.
Ready to Start Your Jewelry Prototyping Journey?
At JewelCAD Design Ltd in Bangkok, we guide jewelry designers, independent brands, and retailers through every stage of the prototyping process — from initial CAD modeling to polished first samples ready for approval. Whether you're launching a new collection or bringing a single hero piece to life, our team is here to make the process seamless, transparent, and efficient.
Contact us today to discuss your next project and discover how Bangkok's skilled artisans and cutting-edge technology can bring your jewelry vision to life.