
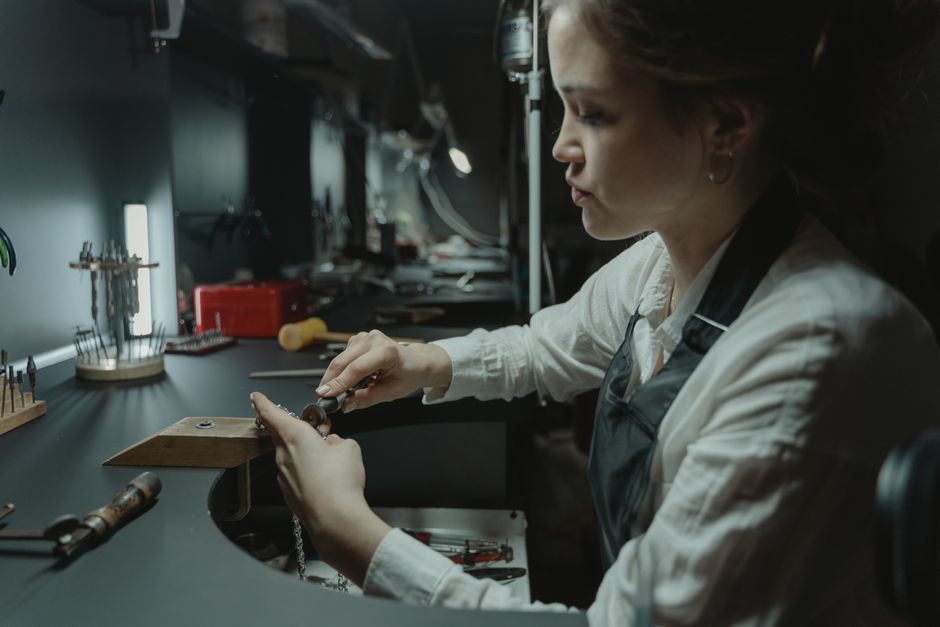
Why Jewelry Finishing Is the Final — and Most Critical — Stage of Manufacturing
You've spent weeks perfecting your CAD design, invested in a flawless wax model, and watched your piece emerge from the casting flask with excitement. But here's the truth that every jewelry designer learns quickly: a freshly cast piece looks nothing like the finished jewel you imagined. That's where jewelry finishing and polishing come in — the skilled, labor-intensive process that transforms a rough metal casting into something that genuinely takes your breath away.
At JewelCAD Design Ltd, finishing is where our craftspeople truly shine. Whether we're producing a single custom engagement ring or a full collection run for an international retail brand, the finishing stage determines whether a piece feels handmade and luxurious or flat and forgettable. This guide walks you through every step, so you know exactly what to expect — and what to demand — from your manufacturing partner.
Step 1: Sprue Removal and Initial Cleanup
After casting, each piece is still attached to the sprue — the metal channel through which molten metal was injected into the mold. The first task is cutting this away cleanly with a jeweler's saw or cutting disc. Any remaining nubs are filed smooth. At this stage, experienced bench jewelers also inspect for common casting defects like porosity (tiny air pockets), warping, or incomplete fill. Identifying these problems early saves significant time and cost.
Step 2: Filing and Grinding
Once the sprue is removed, the piece goes through systematic filing. Using needle files of various profiles — flat, half-round, triangular, and barrette — craftspeople refine every surface, sharp edge, and interior angle. This stage is entirely hand-skill driven and can take anywhere from 15 minutes on a simple band to several hours on a complex, multi-component piece. Grinding wheels and flex-shaft tools speed up flat surface work while preserving detail in ornate areas.
Step 3: Sanding and Smoothing
Filing leaves micro-scratches that must be progressively removed. Jewelers work through grades of abrasive paper and sanding sticks — typically moving from 220 grit down to 600, then 1000 grit or finer. This step determines how brilliant the final polish will be. Skipping grits or rushing this stage is the most common reason finished pieces look dull or show surface inconsistency under light.
Pro Tip: Always sand in one consistent direction per grit level, then change direction for the next. This reveals remaining scratches from the previous stage and ensures complete, even coverage before moving on.
Step 4: Pre-Polishing with Abrasive Compounds
Before the final polish, pieces are worked on polishing wheels using progressively finer abrasive compounds — typically tripoli compound for cutting, followed by a green rouge for intermediate work. At this stage, the metal begins to develop its characteristic reflective quality. For textured or matte finishes, this is often the final step before cleaning.
Step 5: Final Polishing
The final polish uses a soft muslin or felt wheel with a fine compound such as red rouge or white diamond. This is where gold, silver, and platinum truly come alive. Our polishing team at JewelCAD Design adjusts pressure, speed, and wheel type based on the metal and the specific finish requested — mirror polish, satin, brushed, or a combination finish across different surfaces of the same piece.
Specialty Finishing Techniques Worth Knowing
- Rhodium plating: Applied after polishing to white gold and silver pieces for extra brightness, tarnish resistance, and durability
- Sandblasting and bead blasting: Creates a consistent matte or frosted texture ideal for contemporary designs
- Barrel tumbling: An efficient batch process using steel shot media to pre-polish high volumes of simple pieces before hand finishing
- Laser welding post-polish: Repairs minor surface issues after polishing without disrupting the surrounding finish
What to Discuss With Your Manufacturing Partner Before Production
If you're working with a manufacturing partner for the first time, finishing specifications are non-negotiable to clarify upfront. Define your required finish type clearly — mirror, satin, brushed, oxidized, or mixed. Share reference images where possible. Ask about your partner's quality control process and whether finishing samples can be approved before a full production run begins.
At JewelCAD Design Ltd, we work closely with every client to document finish requirements at the design stage, building them into the production brief so there are no surprises at delivery. If you're developing a new jewelry collection or need a reliable Bangkok-based manufacturing partner, contact our team today to discuss your project requirements.